
How to Remove Hornets from Your Garden
Hornets can be a real problem in your garden. Not only are they intimidating, but their stings are painful and can be dangerous—especially if you or someone in your household is allergic. If you’ve noticed a nest forming or see hornets buzzing around your plants, it’s important to act quickly and carefully.
Below, we’ll cover the best ways to safely remove hornets from your garden and link you to some recommended products on Amazon that can make the process easier.
If you are looking for helpful gardening advice, including or beyond how to remove hornets, contact us. We can also help you promote your gardening products or garden centre on our website.
Key Takeaways: Removing Hornets from Your Garden
Safety comes first — Hornets are aggressive and can sting multiple times. Always wear protective gear such as a bee keeper suit, gloves, and goggles before attempting removal.
Nighttime is the best time — Spray nests after dark when hornets are less active and most of the colony is inside. Use a long-range spray like Spectracide Hornet Killer to keep a safe distance.
Traps help control stragglers — After the nest is treated, set up a hornet trap to reduce lingering activity and prevent new colonies from forming.
Prevention is essential — Seal cracks, clean up fallen fruit, secure garbage bins, and consider planting deterrents like citronella or eucalyptus to make your garden less inviting.
Call in the pros when needed — If the nest is large, hidden, or in a risky location, professional pest control is the safest option.
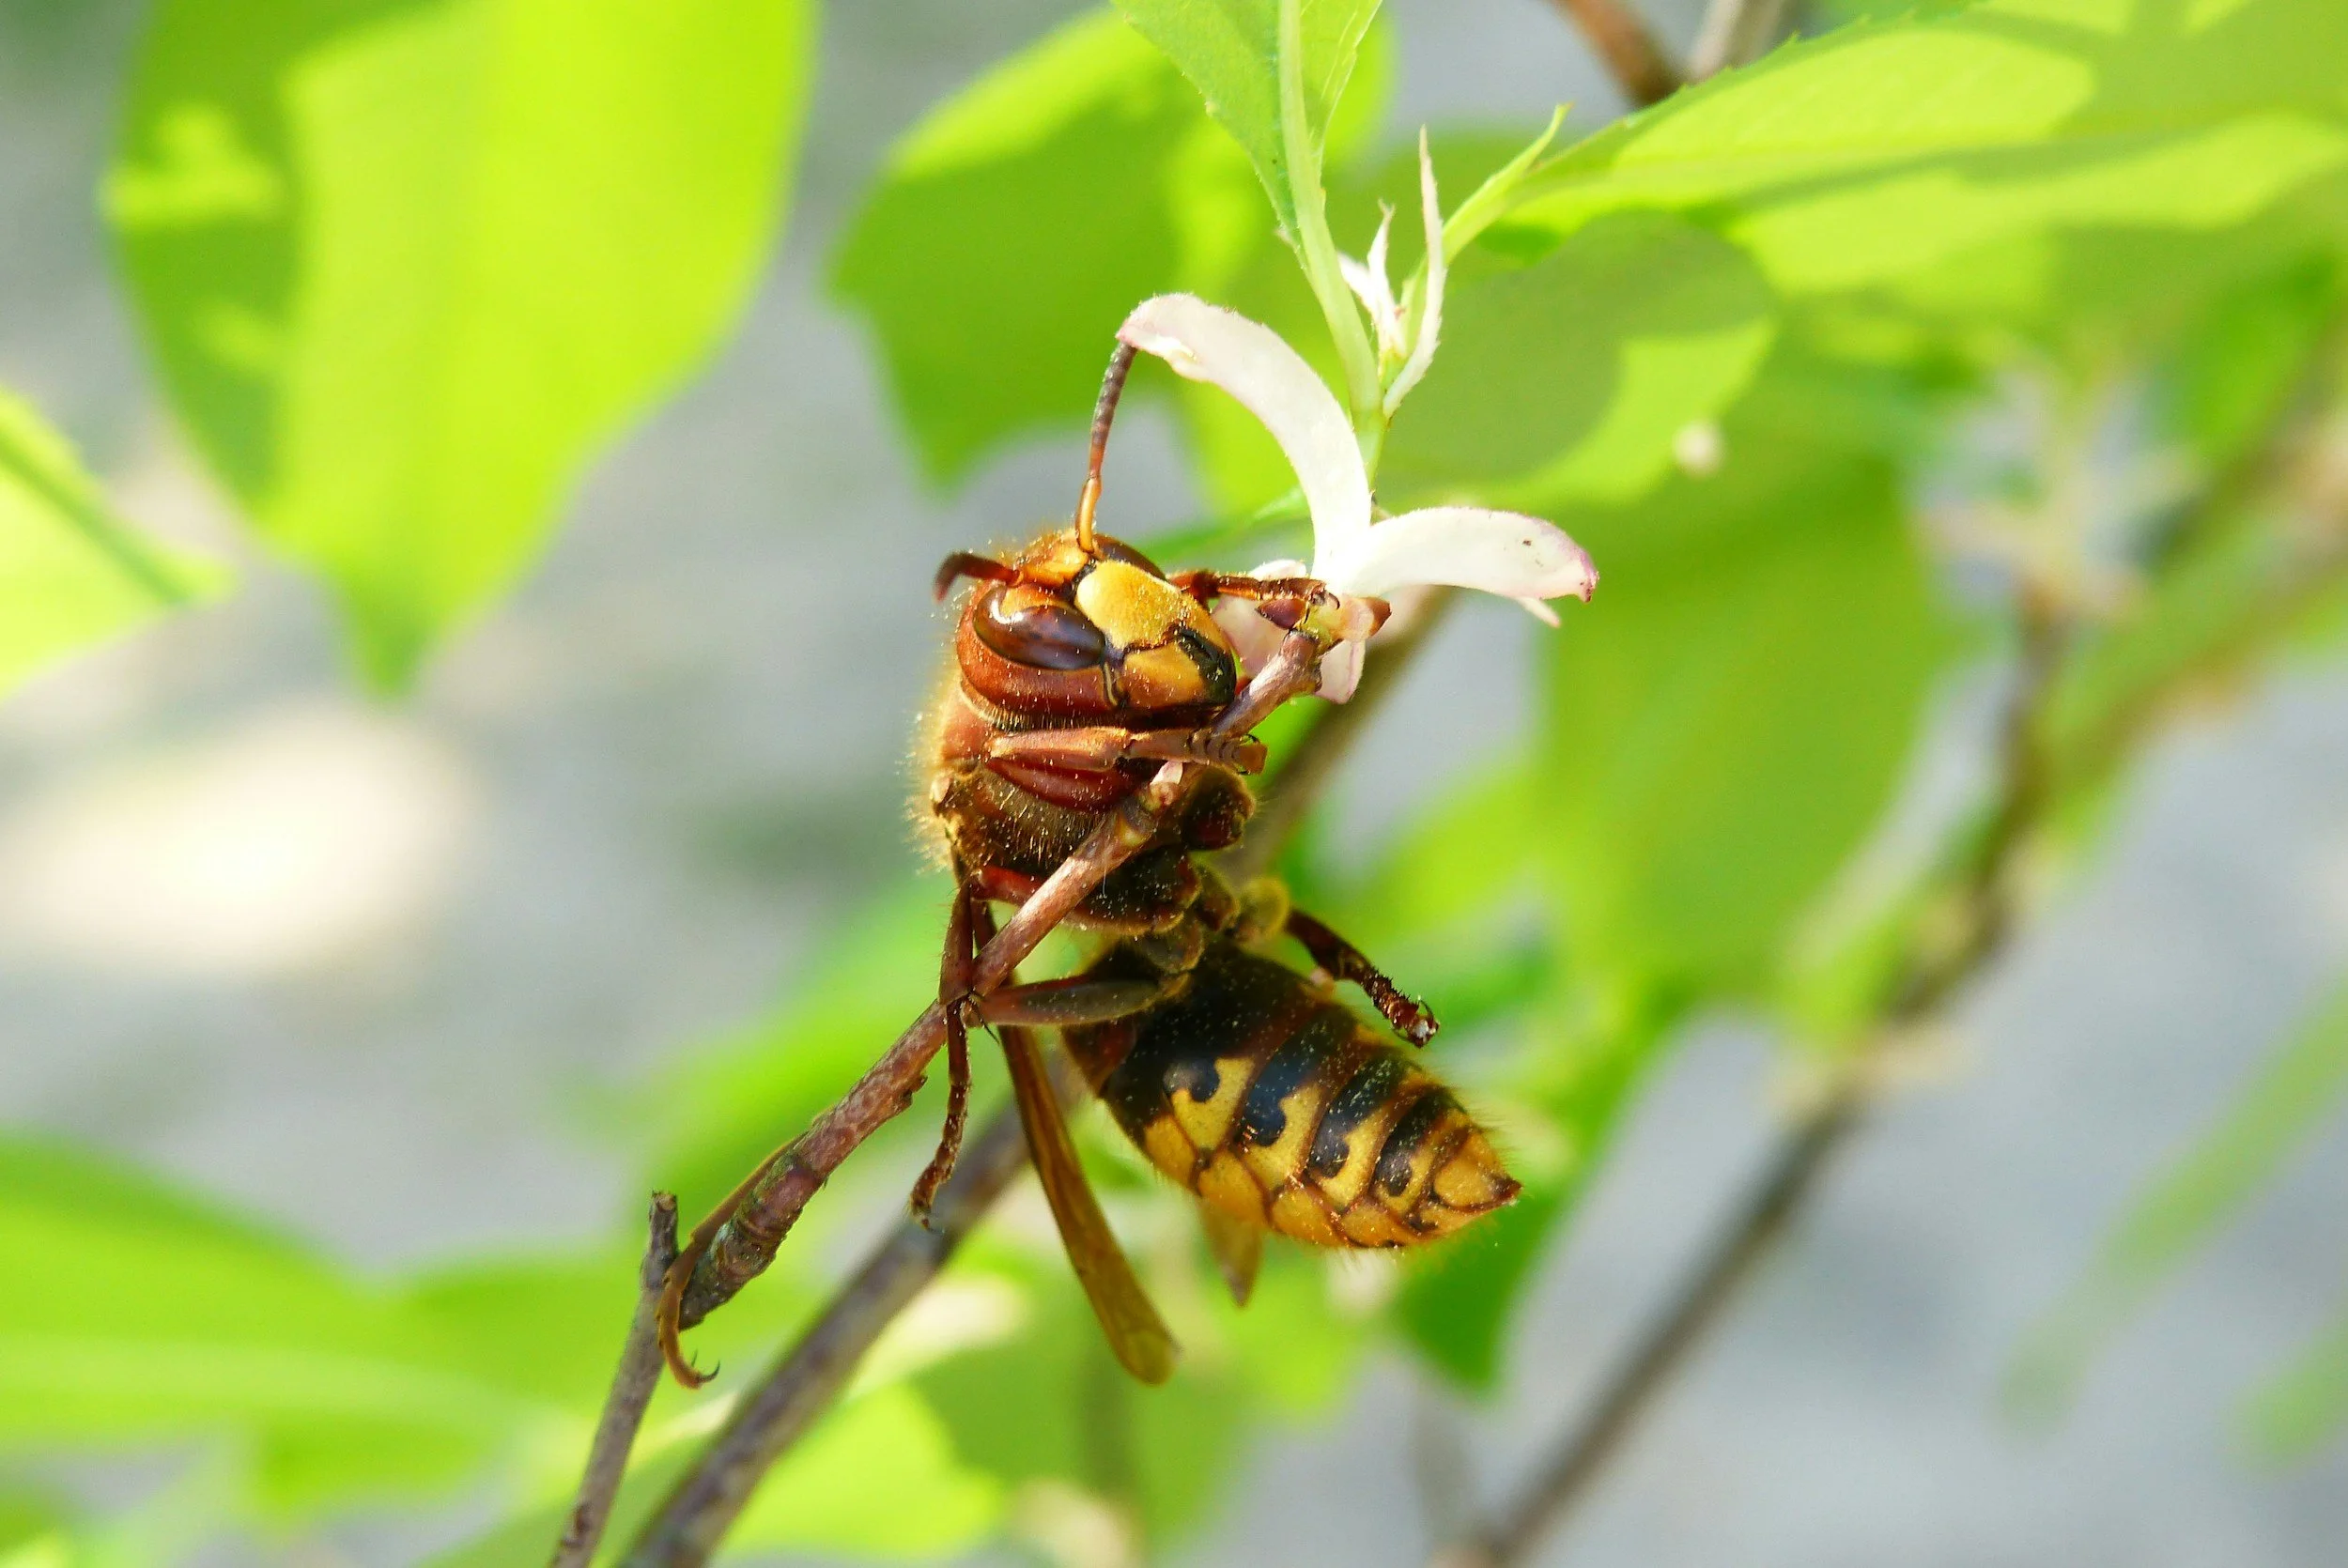
1. Identify the Hornet Problem

Before you attempt to remove hornets, it’s important to understand what you’re dealing with. Hornets are larger than most wasps and often build papery nests shaped like footballs.
These nests might be visible hanging from trees, tucked under eaves, or hidden in shrubs. Sometimes they even build inside sheds, attics, or wall voids.
If you notice hornets consistently flying in and out of one location, that’s likely their nest.
Smaller nests early in the season are easier to remove, while larger nests that appear later in summer can house hundreds of hornets. At that stage, the risk of being stung multiple times increases significantly.
If the nest is very large or located in a difficult-to-reach area, calling a professional exterminator is the safest choice. However, if it’s a smaller nest and accessible, you can take care of it yourself with the right strategy.
2. Suit Up with Protective Gear

Attempting to remove hornets without protection is asking for trouble. Hornets will defend their colony aggressively, and unlike bees, they can sting multiple times. Even if you’re planning to spray from a distance, you need protective clothing in case the hornets react faster than expected.
A full bee keeper suit is one of the most effective forms of protection, as it covers your entire body and includes a veiled hood to protect your face. You can find affordable options on Amazon, such as this bee keeper suit, which offers full coverage for garden pest control.
Combine this with thick nitrile or leather gloves to protect your hands — these durable gloves are a great choice. Don’t forget eye protection. Hornets often go for the face, so a sturdy pair of safety goggles adds an important extra layer of defense.
Wearing this gear not only protects you physically but also gives you the confidence to carry out the removal calmly and carefully.
3. Use a Hornet Spray at the Right Time

Hornet sprays are one of the most effective tools for dealing with a nest, but the timing of when you apply them matters. Most hornet species are diurnal, meaning they’re most active during the day and tend to rest inside their nests at night.
For these species, treating the nest after dark is generally safer because the majority of hornets will be inside and less likely to swarm aggressively if disturbed.
However, there’s one important exception: the European hornet (Vespa crabro). Unlike other hornet species, European hornets often remain active after sunset. They’re even known to be attracted to porch lights, street lamps, and indoor lighting if windows are open.
If you’re dealing with European hornets, nighttime spraying may not be effective — or safe — since they may be actively flying and hunting in the dark.
For most situations, the best approach is to wait until late evening, ideally after dusk, when activity slows and hornets return to the nest. Use a long-range spray such as Spectracide Wasp & Hornet Killer, which can reach up to 27 feet, or Ortho Home Defense Hornet & Wasp Killer, which produces a foaming jet that coats the nest and traps hornets inside.
Stand a safe distance away, aim at the entrance, and saturate the nest. Retreat immediately after spraying, and avoid the area until morning. By then, activity should have stopped, and you can safely remove the nest after waiting at least 24 hours.
4. Set Hornet Traps to Reduce Activity
Even after spraying, you may notice hornets lingering in your garden. This is normal, as not every hornet will be in the nest during treatment.
Setting traps helps reduce their numbers and prevents them from establishing new nests nearby.
Hornet traps use an attractant — often a sweet-smelling bait — that lures hornets inside. Once trapped, they cannot escape. Placing traps a good distance away from your main outdoor living spaces will draw hornets away from your deck, patio, or vegetable beds.
A reliable option is the RESCUE! Reusable Wasp, Hornet & Yellowjacket Trap, which you can refill and reuse throughout the season. If you prefer something more convenient, disposable hanging traps are easy to set up and discard once full.
The best time to set traps is early in the season. Catching queen hornets in spring prevents them from establishing colonies later in summer. However, traps can still be useful year-round for cutting down stray hornets that survived initial treatments.
5. Prevent Hornets from Returning
Removing hornets is only half the battle. To ensure they don’t come back, you need to make your garden less attractive to them.
Start by sealing cracks and gaps in sheds, decks, and siding where they might attempt to nest.
Hornets are opportunists, and even small openings can become the foundation for a new colony.
Food sources are another big draw. Fallen fruit, uncovered garbage bins, and sugary drinks left outside all invite hornets into your yard.
Regularly clean up your garden and keep trash tightly sealed. Standing water can also attract them, so empty containers or buckets that collect rainwater.
Some gardeners also use plants as natural deterrents. Citronella, eucalyptus, and wormwood are all known to repel hornets, so planting them near outdoor seating areas can help discourage activity.
By combining these preventative measures with vigilance, you’ll greatly reduce the chances of hornets returning.

Need Help With a Hornet Infestation?
Hornets can be intimidating, but with a careful approach and the right tools, you can take back your garden.
Always prioritize safety, and don’t hesitate to call a professional if the nest is large or in a dangerous location.
For most backyard infestations, a combination of protective gear, a powerful hornet spray, and well-placed traps will solve the problem effectively.
Ready to fight back?
Check out our recommended hornet control products on Amazon, join a community of gardeners tackling the same challenges, and take the first step toward a thriving, pest-free garden today.